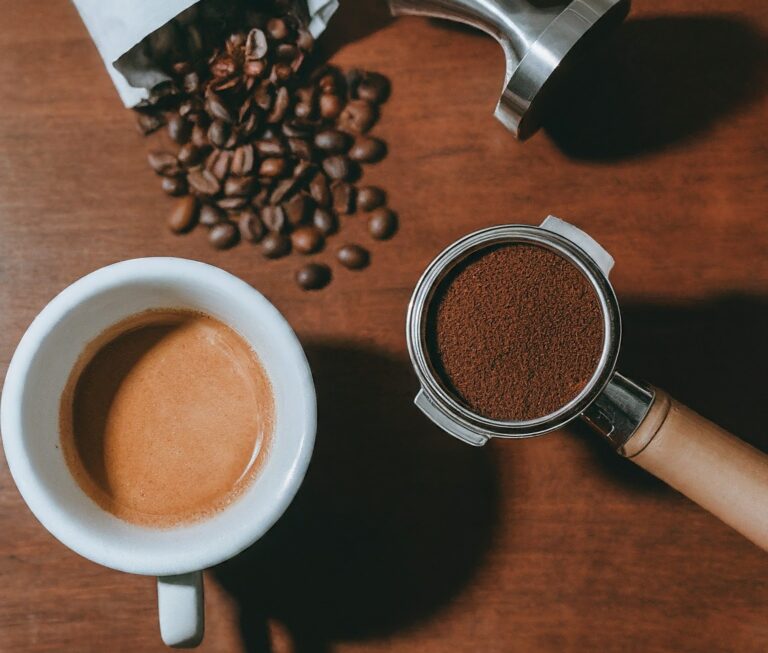
While a dedicated coffee grinder offers the best results, a blender can act as a temporary solution for grinding coffee beans. Grinding coffee beans with a blender is possible, but it’s not the most ideal method because blenders are not designed specifically for grinding coffee. However, it’s important to understand the limitations of using a blender for this task. Here’s a detailed breakdown of how to use a blender for grinding coffee, along with explanations for each step:
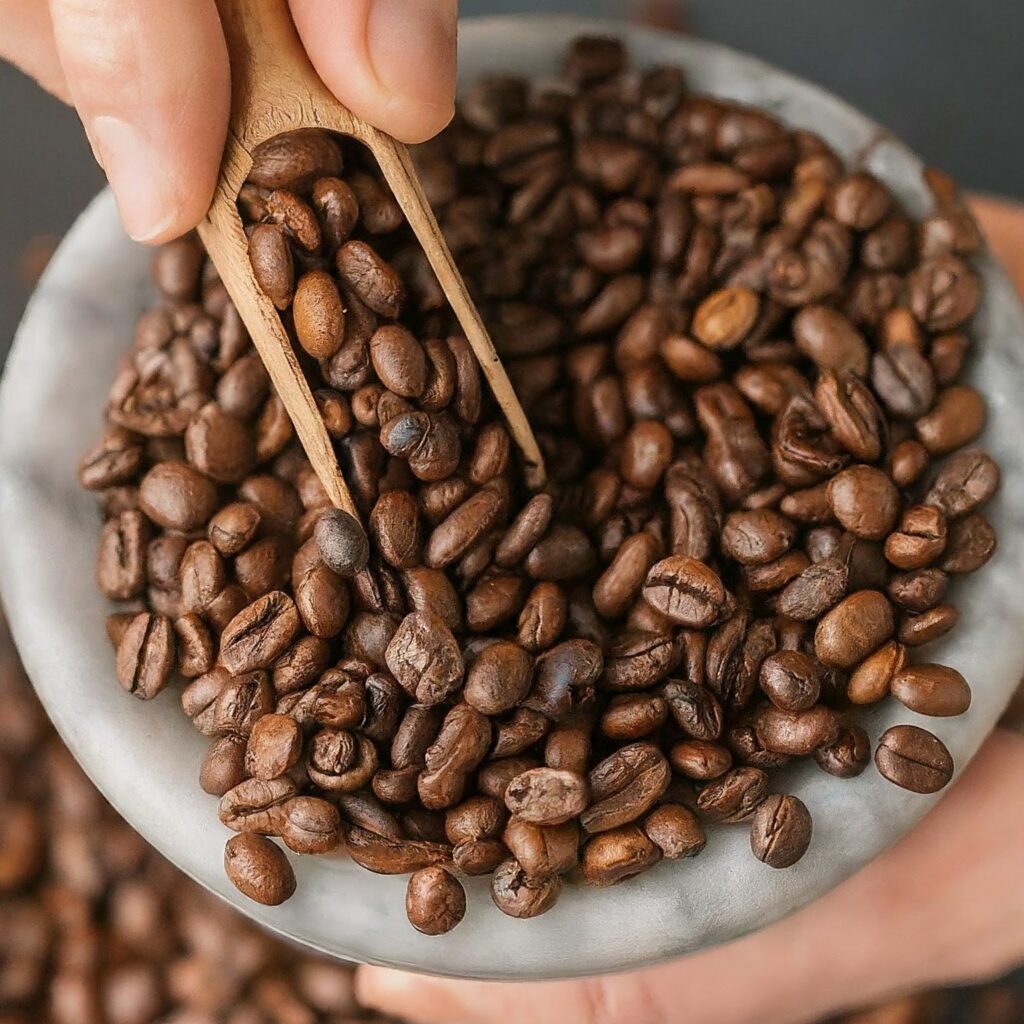
Step1:Measure the Coffee Beans
Before you start grinding, it’s crucial to plan your brew. Decide on the brewing method you’ll be using, whether it’s a drip coffee maker, French press, or pour-over. Each method requires a specific grind size for optimal extraction.
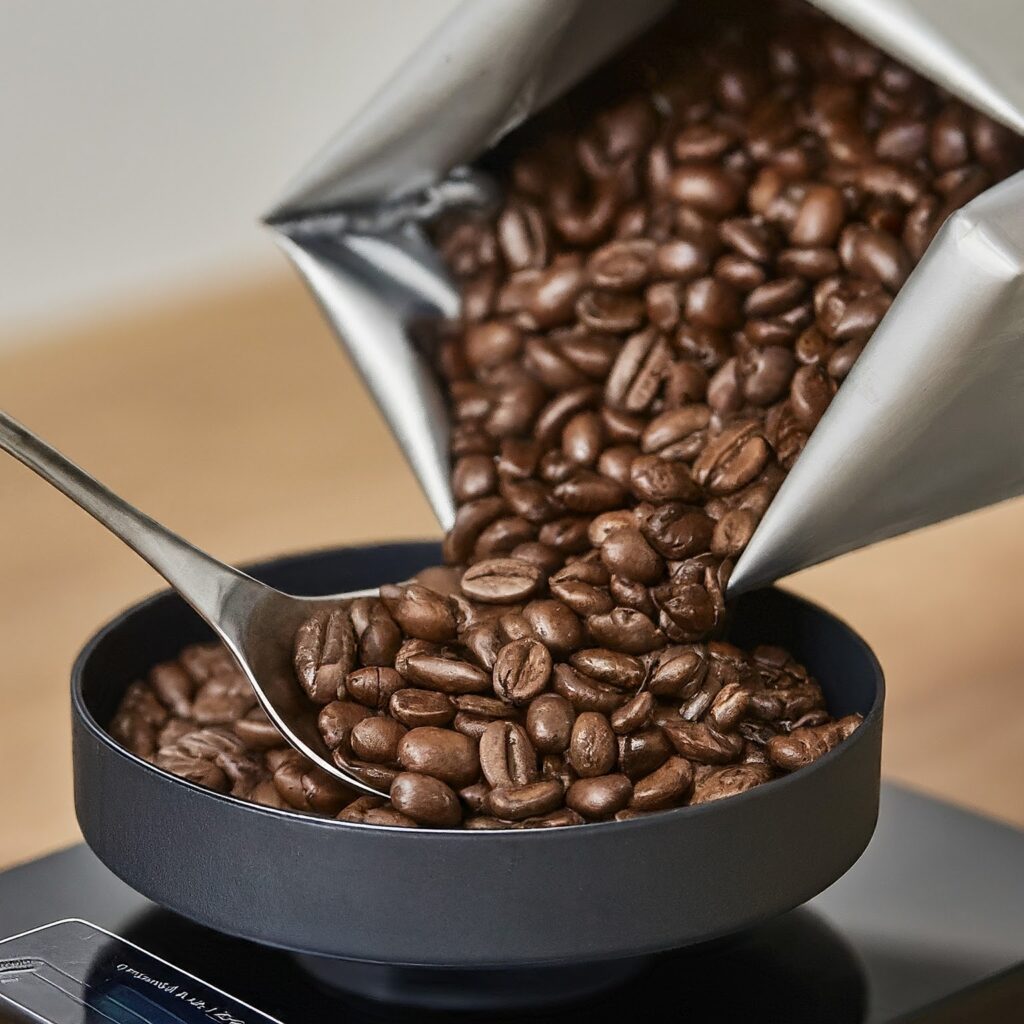
For example, fine grind is ideal for espresso machines, medium grind works well for pour-over cones, and coarse grind is suitable for French presses. Once you’ve determined your grind size, measure out the appropriate amount of whole coffee beans. A good starting point is 1-2 tablespoons of ground coffee per 6 ounces of water. A kitchen scale is ideal for precise measurement, but a tablespoon can work in a pinch.
Step2:Adjust the Blender Settings
Grinding coffee with a blender can be a bit of a hack, but it works in a pinch! Unlike fancy burr grinders that crush beans between discs for a super consistent grind, blenders use blades that chop the beans, resulting in a mix of fine and coarse particles. This inconsistency can make it harder to brew a perfect cup, but don’t worry! To minimize this risk and prevent burning the coffee, use short pulses instead of continuous grinding. If your blender has a “pulse” setting, that’s your best friend. Just remember, patience is key – achieving a perfect grind with a blender takes a little more time and attention than with a dedicated grinder.
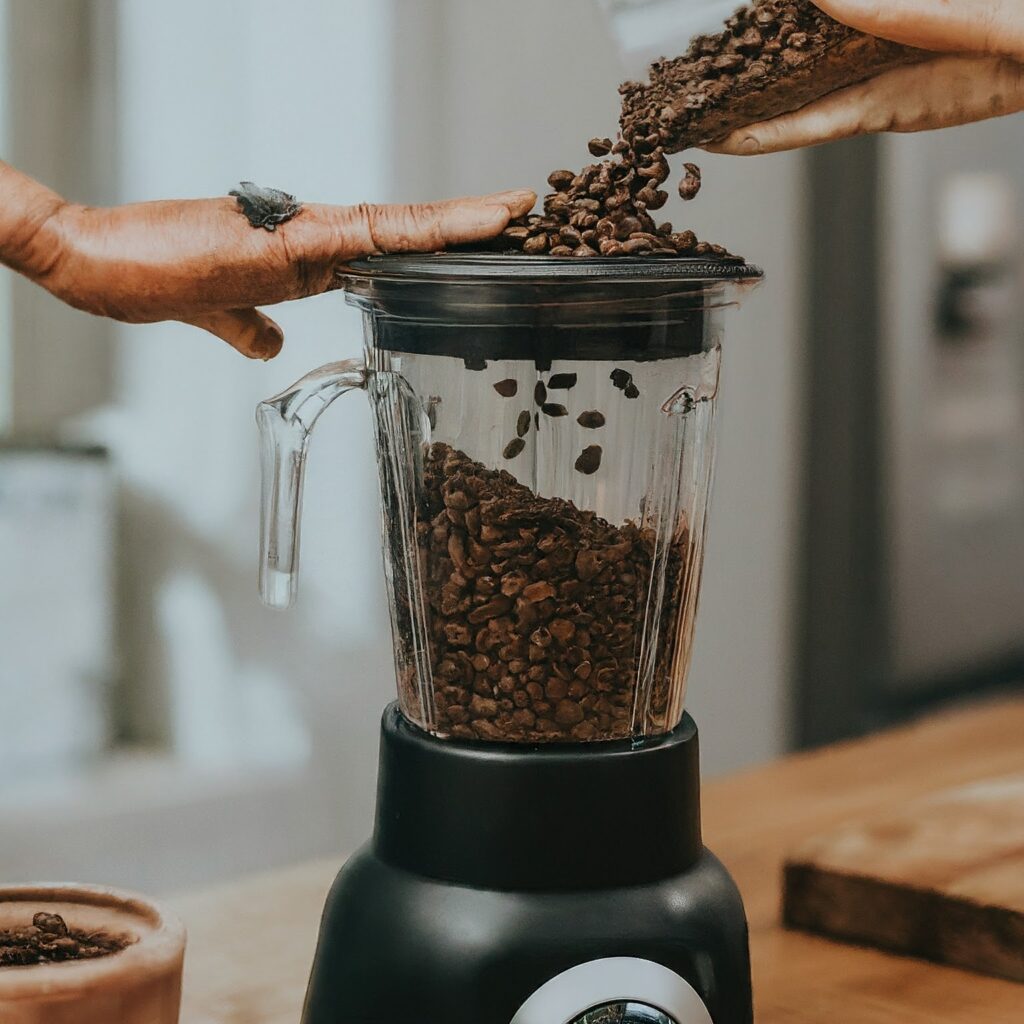
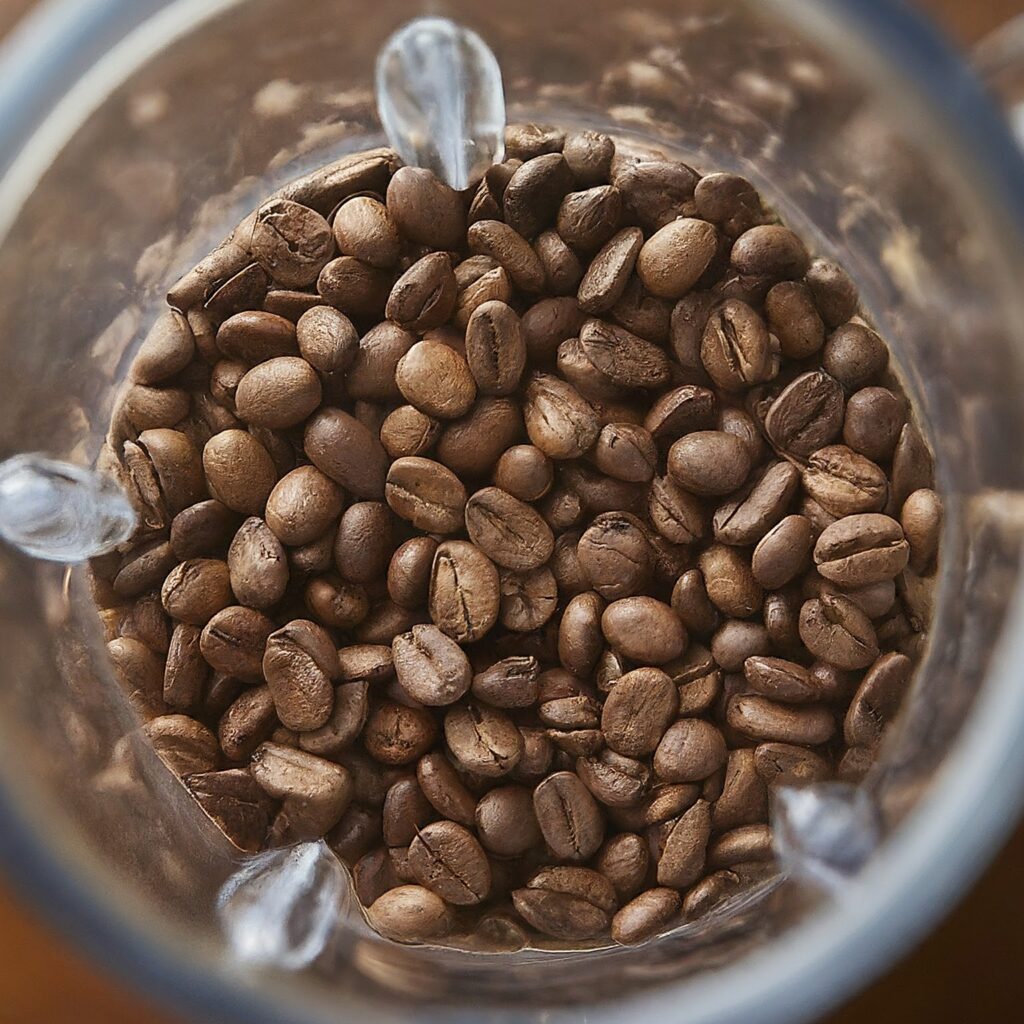
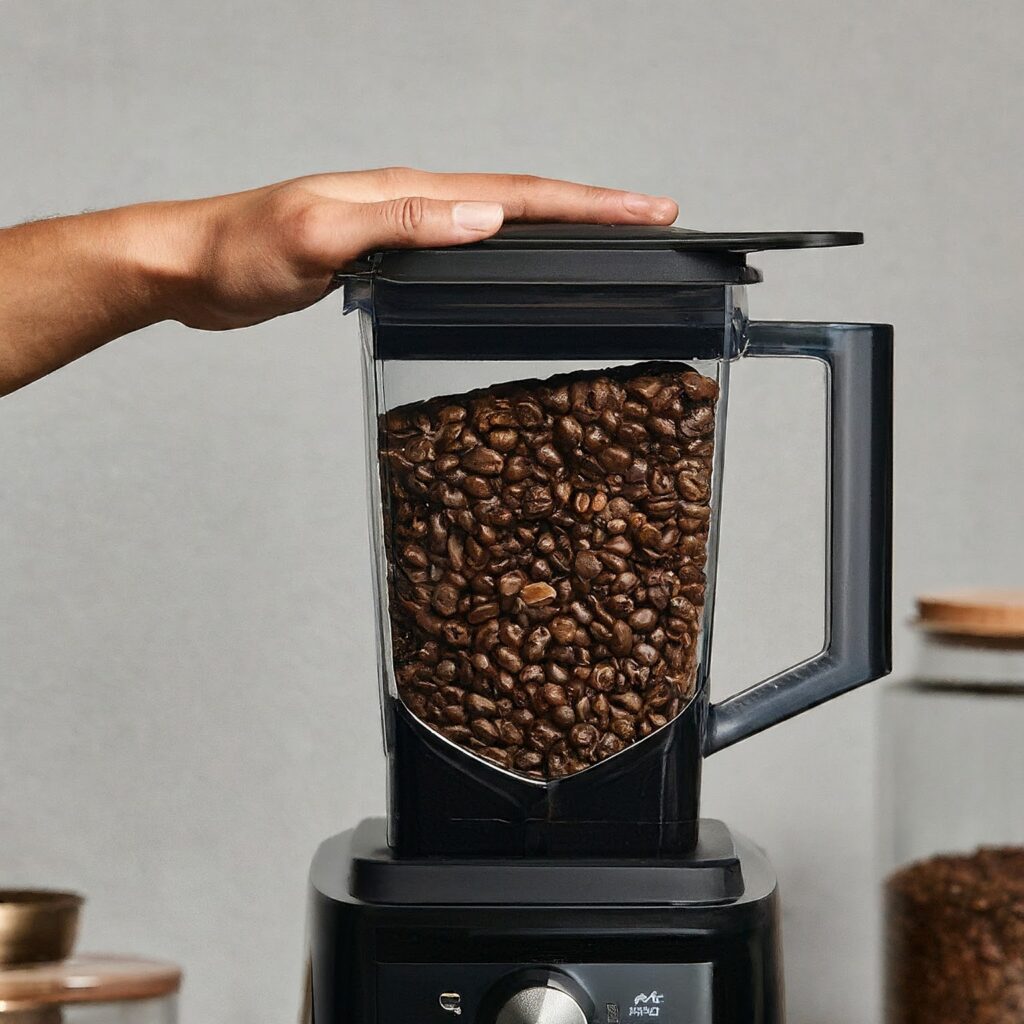
Step3:Add the Coffee Beans
When adding the coffee beans to the blender, remember to work in small batches, around ¼ cup at a time. Since blenders are less efficient at grinding than dedicated grinders, this allows for better control over the grind size.
Start pulsing the blender in short bursts to break down the beans evenly.
Step4:Grind the Coffee Beans
Grinding coffee with a blender is a bit of a workaround, but it can work in a pinch! The key is to be patient and accept that the grind won’t be quite as uniform as with a burr grinder. To achieve a more consistent result, ditch the continuous blending and instead use short 1-2 second pulses.
After each pulse, give the beans a quick stir with a spoon. This helps distribute the beans evenly and prevents you from accidentally creating a mix of super fine dust and large chunks. Think of it like gently tapping a mortar and pestle instead of pulverizing everything at once! By taking your time and using short bursts, you’ll get a grind that’s good enough for a decent cup of coffee.
Step5:Check the Grind Size
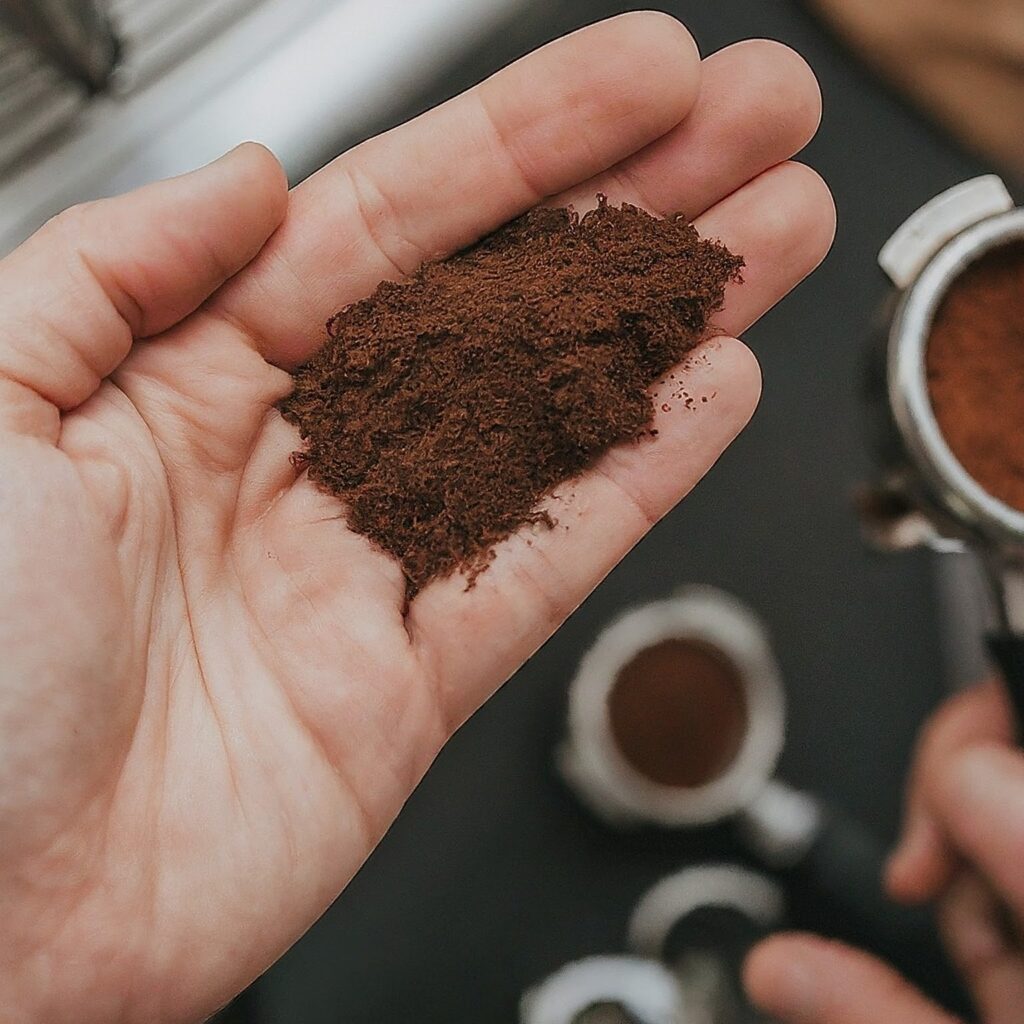
Grinding coffee with a blender is a bit like playing the whack-a-mole game with your grind size. Here’s the deal: after some pulsing, open the blender and take a peek at the coffee grounds. Imagine the ideal texture for your brewing method (coarse for French press, finer for drip coffee). Does your grind resemble that? If it’s too chunky, don’t get discouraged! Just give it short bursts in quick succession, stopping in between to stir the beans with a spoon and check the consistency again. This back-and-forth might take a little longer than using a fancy grinder, but with a bit of patience, you’ll get a decent enough grind for a delicious cup. Remember, the key is small batches and short pulses to avoid burning the grounds and to distribute them evenly for a more consistent grind.
Step6:Transfer and Store the Ground Coffee
Grinding coffee with a blender isn’t ideal, but it can work in a pinch. Here’s how: First, plan your brew method (French press, pour-over, etc.) as this determines your ideal grind size (fine, medium, coarse). Measure out your beans (roughly 1-2 tablespoons per 6 ounces of water) and remember, a burr grinder is always best for consistent results. With your blender, adjust the settings for short bursts instead of continuous grinding to minimize heat and uneven grinding. Add the beans in small batches (around ¼ cup) and pulse in short 1-2 second bursts, stirring the beans in between each pulse to distribute them evenly.
Check the grind size frequently against your brewing method’s needs and keep pulsing until satisfied. Finally, to lock in freshness, transfer the ground coffee to an airtight container and store it in a cool, dark cupboard or pantry away from heat, light, and moisture – these enemies will steal your coffee’s precious flavor and aroma! Remember, this method might take more time and effort than a dedicated grinder, but with patience and these tips, you can still enjoy a delicious cup of coffee.
Step7:Clean the Blender
Grinding coffee with a blender can be a workaround, but remember, it’s not ideal. The blades can create an inconsistent grind compared to a burr grinder, affecting your coffee’s flavor. But if you’re in a pinch, here’s how to get it done: first, measure your beans based on your brewing method (fine for espresso, medium for drip, coarse for French press). Then, adjust your blender to pulse instead of continuously grinding, to avoid burning the coffee. Work in small batches and pulse the beans in short bursts, checking and stirring them in between to get a more even grind.

Finally, the most important step: clean your blender right away! Coffee grounds are sneaky and can linger, so fill the blender halfway with warm, soapy water, blend for a short time, rinse thoroughly, and dry all parts completely to prevent mold and lingering flavors. By following these steps, you can enjoy a decent cup of coffee even without a fancy grinder. Just remember, a burr grinder is always the champion for achieving a consistently delicious cup.
How long to grind coffee beans
The duration for grinding coffee beans depends on several factors, including the type of grinder, the desired grind size, and personal preferences. While a general guideline suggests 15 to 30 seconds, this can vary depending on your equipment and taste.
The type of grinder you use has a significant impact on the grinding process. Blade grinders, known for being less precise, require a pulsing motion (short bursts of 5-10 seconds) to achieve a more consistent grind. This pulsing action helps prevent overheating the grounds, which can negatively affect the flavor of your coffee. Burr grinders, on the other hand, offer more control with adjustable settings. Also, you can Consult your grinder’s manual for specific recommendations based on the desired grind size of your sweet or healthy coffee (coarse for French Press, medium for drip coffee, and fine for espresso). Ultimately, the goal is to achieve the perfect consistency for your brewing method. Experimentation and practice will help you determine the optimal grinding time for your ideal cup of coffee. There is also a chart showing coffee grind size that you can explore.
Coffee Grind Size Chart
| Grind Size | Description | Brewing Method | Grind Time (Electric Burr Grinder) |
| Coarse | Feels like rough sand | French Press | 8-10 seconds (short pulses) |
| Medium-Coarse | Slightly finer than coarse, like sea salt | Cold Brew Coffee (Steeped) | 12-15 seconds (short pulses) |
| Medium | Feels like table salt | Drip Coffee, Pour-Over | 10-15 seconds (short pulses) |
| Medium Fine | Finer than medium, but not powdery | AeroPress | 15-20 seconds |
| Fine | Like powdery sand | Moka Pot, Espresso | 20-30 seconds |
Final Note:
Grinding coffee with a blender is a quick fix, but for a truly yummy cup, a real grinder is best. Blender blades chop beans unevenly, so use short bursts and stir in between to get a decent grind. Remember small batches and don’t overheat the beans! Store your ground coffee in an airtight container to keep it fresh.
Enjoy your coffee!